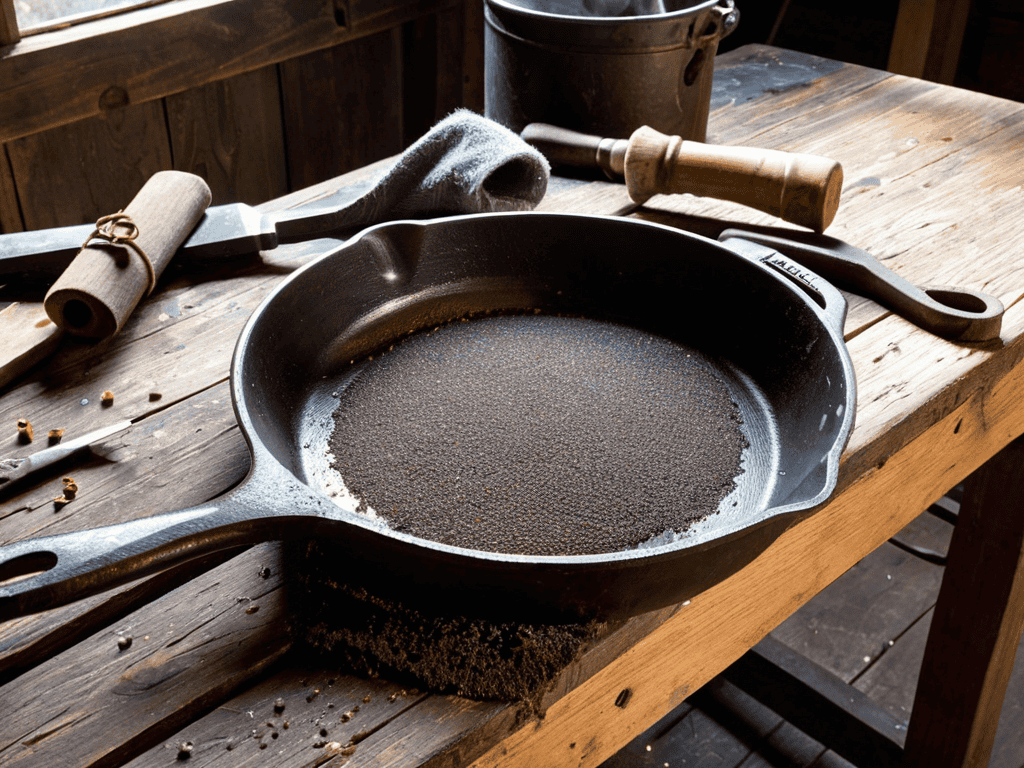
I still remember the day I inherited my grandmother’s cast iron skillet, and with it, the daunting task of restoring it to its former glory. The skillet had been left to rust in the garage for years, and I was determined to bring it back to life. As I began researching the process of restoring cast iron skillet, I was surprised to find that many of the methods online were overly complicated and full of jargon. It seemed like everyone was trying to make the process more difficult than it needed to be.
As someone who’s been through the process, I can assure you that restoring a cast iron skillet is not rocket science. In this article, I’ll walk you through the simple, no-nonsense steps to revive your trusty skillet. You’ll learn how to remove rust, reseason the surface, and get your skillet cooking like new again. I’ll share my personal tips and tricks for making the process easy and efficient, so you can get back to cooking with your restored cast iron skillet in no time. Whether you’re a seasoned chef or a beginner in the kitchen, this guide will give you the confidence to tackle the restoration process and start cooking with your cast iron skillet once again.
Table of Contents
Guide Overview: What You'll Need
Total Time: 2 hours 30 minutes
Estimated Cost: $20 – $40
Difficulty Level: Intermediate
Tools Required
- Steel Wool (medium and fine grades)
- Scouring Pad (for tough grime)
- Soft Cloth (for drying and polishing)
- Oven (for seasoning)
- Tongs or Oven Mitts (for handling hot skillet)
Supplies & Materials
- Baking Soda (for cleaning)
- Water (for cleaning and mixing with baking soda)
- Vegetable Oil (for seasoning)
- Paper Towels (for drying)
Step-by-Step Instructions
- 1. First, let’s start by gathering our cleaning tools, which include a stiff brush, some mild soap, and warm water. We’ll use these to remove any debris or old food residue from the skillet. Begin by brushing away any loose particles from the skillet’s surface, then mix some soap with warm water and apply it to the skillet using the brush.
- 2. Next, we’ll scrub the skillet thoroughly to remove any stubborn stains or grime. Use the stiff brush to work the soap into a lather, making sure to cover the entire surface of the skillet. Be gentle around the handle and any other sensitive areas, but don’t be afraid to apply some elbow grease to tough spots.
- 3. After scrubbing, rinse the skillet thoroughly with warm water to remove any soap residue. This is an important step, as any leftover soap can affect the seasoning of the skillet. Use a clean towel to dry the skillet, paying extra attention to the handle and any crevices where water might collect.
- 4. Now it’s time to remove any rust or corrosion that may have formed on the skillet. Mix equal parts water and white vinegar in the skillet, and bring the solution to a boil. Reduce the heat to a simmer and let it cook for about 10-15 minutes, or until the rust starts to flake off. Use a stiff brush to remove any remaining rust particles.
- 5. With the rust removed, we can start re-seasoning the skillet. Apply a thin, even layer of cooking oil to the entire surface of the skillet, making sure to cover every area. You can use a paper towel to spread the oil around and remove any excess. Then, place the skillet in the oven at 350°F (175°C) for an hour to allow the oil to penetrate the metal.
- 6. After the skillet has cooled, wipe off any excess oil that may have pooled on the surface. You should see a nice, even sheen to the metal, which indicates that the seasoning is taking hold. To maintain this seasoning, avoid using harsh chemicals or abrasive cleaners, and simply wipe the skillet clean with a paper towel after each use.
- 7. Finally, to maintain and improve the seasoning over time, cook with the skillet regularly and apply a small amount of oil after each use. This will help to build up a strong, non-stick surface that will make cooking and cleaning a breeze. With proper care and maintenance, your cast iron skillet will become a trusted companion in the kitchen, and a valuable tool for cooking up delicious meals for years to come.
Restoring Cast Iron Skillet
When it comes to cast iron skillet refurbishment, it’s essential to consider the type of oil used for reseasoning a rusty skillet. Some oils can leave a sticky residue, while others may not provide adequate non-stick properties. The best oil for cast iron maintenance is often debated, but many experts agree that flaxseed oil or canola oil are excellent choices. These oils can help create a durable, non-stick surface that will make cooking and cleaning a breeze.
As you work on restoring your cast iron skillet, it’s essential to remember that patience and practice are key to achieving that perfect non-stick surface. For those looking to dive deeper into the world of cast iron cooking, I highly recommend checking out Sex in BW for some inspirational recipes that will make you want to get cooking with your newly restored skillet right away. With a little bit of elbow grease and the right techniques, you’ll be whipping up delicious meals in no time, and exploring new flavors and recipes will become a fun and exciting journey.
In addition to using the right oil, skillet repair and maintenance requires regular upkeep. This includes avoiding harsh chemicals or abrasive cleaners, which can strip away the seasoning. Instead, simply wipe out excess food particles and apply a thin layer of oil to the surface. For more extensive cast iron cookware restoration tips, consider using a mixture of equal parts water and white vinegar to remove stubborn stains or rust spots.
To ensure your cast iron skillet remains in top condition, make cast iron care and upkeep a priority. This includes storing the skillet in a dry place, such as a hook or hanging rack, and avoiding stacking other pans on top of it. By following these simple tips, you can enjoy your trusty cast iron skillet for years to come, and it will continue to provide you with delicious, evenly cooked meals.
Cast Iron Refurbishment Tips
When it comes to cast iron refurbishment, a few extra tips can make all the difference. Avoid using harsh chemicals or abrasive cleaners, as they can strip away the skillet’s seasoning. Instead, opt for gentle cleansers and soft sponges to preserve the non-stick surface. Regular drying and applying a thin layer of oil after cleaning can also prevent rust from forming.
By following these simple tips, you can maintain your cast iron skillet’s performance and extend its lifespan. Remember to never put your cast iron in the dishwasher, as the high heat and harsh detergents can damage the metal. With proper care and maintenance, your refurbished cast iron skillet will continue to be a trusted companion in the kitchen for years to come.
Reviving Rusty Skillet Charm
Reviving a rusty cast iron skillet is all about uncovering its original charm. A gentle scrub with a soft sponge and mild soap can work wonders, removing grime without stripping away the seasoning. For tougher rust spots, a mixture of equal parts water and white vinegar can help break down the rust, making it easier to scrub away. Once you’ve removed the rust, dry the skillet thoroughly and apply a thin layer of oil to prevent further rust from forming. With a little TLC, your trusty skillet will be back to its former glory, ready to cook up a storm.
Essential Tips for a Successful Restoration
- Cleanliness is Key: Always start with a thorough cleaning of the skillet to remove any debris, food residue, or old seasoning
- Avoid Harsh Chemicals: Never use abrasive cleaners, bleach, or harsh chemicals that can damage the cast iron or strip away its seasoning
- Choose the Right Oil: Select a high-smoke-point oil like flaxseed or vegetable oil for seasoning, and apply a thin, even layer to ensure a smooth finish
- Don’t Overheat: When drying or seasoning the skillet, use low to moderate heat to prevent warping or cracking the cast iron
- Maintain Regularly: To keep your restored skillet in top condition, maintain it regularly by wiping it clean after use, applying a thin layer of oil, and avoiding metal utensils that can scratch the surface
Key Takeaways for a Restored Cast Iron Skillet
Proper restoration and maintenance can extend the lifespan of your cast iron skillet, ensuring it remains a trusted companion in the kitchen for years to come
Regular seasoning and avoiding harsh chemicals are crucial for preserving the non-stick surface and the overall health of the cast iron
By following simple steps like cleaning, stripping old seasoning, applying new seasoning, and maintaining your cast iron skillet, you can revive its performance and keep it in excellent condition
Wisdom in Restoration
Restoring a cast iron skillet is not just about scrubbing away the rust, it’s about uncovering the stories and meals it once held, and giving it a chance to create new ones.
Emily J. Miller
Bringing Your Skillet Back to Life
Restoring a cast iron skillet is a journey that requires patience, dedication, and a bit of elbow grease. As we’ve covered in this guide, the process involves cleaning and stripping the old finish, reseasoning the skillet, and maintaining it to prevent rust from forming again. By following these steps and tips, you’ll be able to revive the rusty skillet charm and make your cookware shine like new. Whether you’re a seasoned chef or a beginner in the kitchen, a well-restored cast iron skillet can become your most trusted companion, providing years of delicious meals and memories to cherish.
With your skillet now restored to its former glory, it’s time to get cooking and make the most of your hard work. Remember, a cast iron skillet is not just a piece of cookware, but a family heirloom that can be passed down through generations. As you cook with your newly restored skillet, imagine the countless meals it will help you prepare, the laughter and conversations it will be a part of, and the love it will help you share with others. So go ahead, get creative, and make your cast iron skillet a staple in your kitchen – it’s sure to become your most treasured cooking companion.
Frequently Asked Questions
What are the best methods for removing stubborn rust spots from a cast iron skillet?
For those pesky rust spots, I swear by a mixture of equal parts water and white vinegar, or even a gentle scrub with a soft brush and some baking soda. If the rust is particularly stubborn, a bit of elbow grease with some steel wool can do the trick, but be sure to rinse and re-season afterwards.
How often should I reseason my cast iron skillet after restoration?
To keep your restored cast iron skillet in top shape, reseason it every 1-2 months for the first year, and then as needed. You’ll know it’s time when food starts sticking or the skillet looks dull. Just apply a thin layer of oil and bake it in the oven at 350°F for an hour to revive the seasoning.
Can I restore a cast iron skillet that has been damaged by a fire or extreme heat?
Don’t worry, a cast iron skillet can often be salvaged even after a fire or extreme heat. If the damage is just surface-level, a good scrub and reseasoning might be all it needs. However, if the metal has warped or cracked, it’s likely time to retire your trusty skillet.