Halfway through smoothing the warm, lime‑soaked tadelakt on my kitchen wall, I heard the familiar creak of my vintage fedora shifting as I leaned back to admire the emerging sheen. After a morning of pollinating rooftop tomatoes, the scent of fresh rosemary drifting through the open window reminded me that tadelakt plastering at home isn’t reserved for marble‑clad villas—it’s a craft any curious hands can master. The myth that you need a stone‑mason’s apprenticeship to achieve that silky, marble‑like glow? I’ve learned it’s simply a matter of patience, right lime, and a little love for the process.
In the pages that follow I’ll walk you through every step I’ve refined on my rooftop greenhouse—from mixing the perfect lime‑soap blend to polishing the surface with a river stone, all while keeping the process eco‑friendly. You’ll get a checklist of tools, troubleshooting tips for hiccups like uneven sheen, and a cheat sheet so you can replicate that seamless finish on any wall, bathroom, or garden niche. By the end, you’ll be ready to transform a surface into a timeless, water‑resistant canvas that feels as satisfying to touch as it looks.
Table of Contents
- Step-by-Step Instructions
- From Farm to Faucet Tadelakt Plastering at Home
- Mixing Lime Like Soil How to Mix Lime Plaster for Tadelakt
- Sealing the Sanctuary Tadelakt Waterproofing Techniques for Bathroom Bliss
- Five Rustic Tips for Mastering Tadelakt at Home
- Key Takeaways for Your Tadelapt Journey
- A Plastered Path to Home Harmony
- Wrapping It All Up
- Frequently Asked Questions
Guide Overview
Tools & Supplies
- Trowel – stainless steel or flexible for spreading plaster
- Polishing stone (marble or soapstone) – for compacting and smoothing the surface
- Plastic spray bottle – to keep the plaster damp while working
- Soft‑bristle brush – for applying the soap finish
- Protective gloves and goggles – safety while mixing lime
- Hydraulic lime (calcined) – 1–2 kg per 10 sq ft of wall
- Marble or limestone powder – 0.5 kg per 10 sq ft for the tadelakt mix
- Natural liquid soap (e.g., castile) – 100 ml for the final polishing step
- Clean water – as needed for mixing and dampening
- Fine sand (optional) – small amount if a slightly rougher texture is desired.
Step-by-Step Instructions
- 1. Gather Your Materials – Start by assembling the essentials: a high‑lime plaster (often called “tadelakt plaster”), a bucket, a sturdy trowel, a smooth wooden float, a soft‑bristled brush, and, of course, a block of natural soap (olive‑oil based works wonders). I always keep a spare roll of canvas drop cloth on my rooftop greenhouse floor, just in case the lime decides to get a little too enthusiastic.
- 2. Prep the Surface – The wall you’ll be coating needs to be clean, dry, and free of dust. If you’re working on a plastered wall, give it a light sanding with 120‑grit sandpaper, then wipe it down with a damp cloth. For a raw masonry surface, a quick mist of water will help the lime plaster adhere better. I like to lay a fresh sheet of newspaper over the floor; it reminds me of the old farm shed where I first learned to respect the ground I walk on.
- 3. Mix the Lime Plaster – In a clean bucket, combine the lime plaster with water at a 1:1.5 ratio (one part plaster to one and a half parts water). Stir gently with a wooden paddle, avoiding any air bubbles that could later turn into tiny cracks. Let the mixture sit for about 10 minutes; this “slaking” period lets the lime hydrate fully, giving you a smooth, workable paste—much like letting a seed soak before planting.
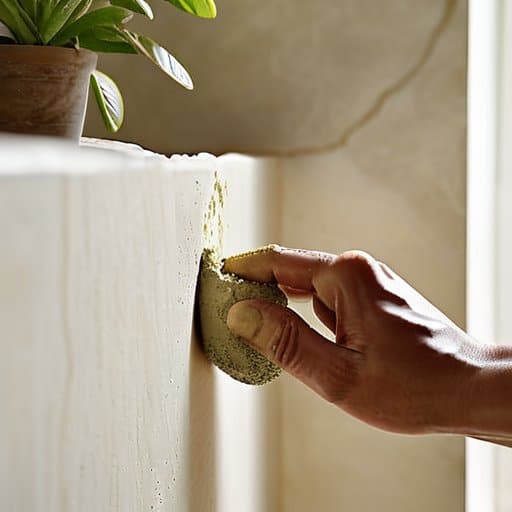
- 4. Apply the First Coat – Using your trowel, spread a thin, even layer of the plaster onto the wall, working from the bottom up. Aim for a thickness of about 3 mm. Press the plaster firmly, then smooth it with the wooden float, moving in long, overlapping strokes. As the plaster begins to set (it will feel slightly tacky after 15–20 minutes), give it a gentle polish with a damp sponge to erase any faint lines.
- 5. Build Up the Finish – Once the first coat is firm but still slightly damp, apply a second, slightly thicker layer (about 5 mm). This time, after smoothing with the float, let the surface dry until it’s just firm enough to handle—usually 30–45 minutes. Then, using a clean, slightly damp sponge, rub the surface in a circular motion to create that characteristic, velvety sheen of tadelakt. I find that a few extra passes with the sponge bring out a subtle sheen that reminds me of sunrise over the Iowa fields.
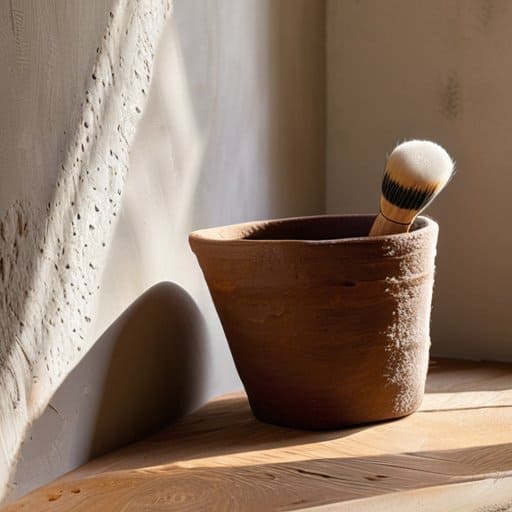
- 6. Soap‑Wash the Surface – The magic of tadelakt lies in the final soap treatment. Rub a generous amount of natural soap onto the dried plaster in a circular motion, allowing the soap to seep into the lime matrix. After a minute, rinse lightly with a soft, damp cloth, then buff the area with a dry towel. This step creates a water‑repellent seal while preserving the soft, marble‑like finish.
- 7. Cure and Protect – Allow the finished wall to cure for at least 48 hours before exposing it to heavy moisture. Keep the room at a moderate temperature and avoid direct sunlight, which can cause rapid drying and micro‑cracks. Once cured, enjoy the gentle, reflective glow of your new tadelakt surface—and perhaps treat yourself to a cup of tea on the rooftop, fedora tipped back, admiring how a simple wall can become a canvas for sustainable beauty.
From Farm to Faucet Tadelakt Plastering at Home
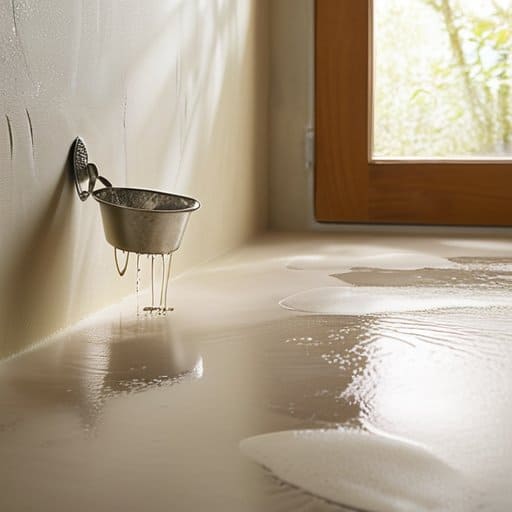
When you step out of the barn‑yard and into the bathroom, the first thing to remember is that preparing bathroom walls for tadelakt is a bit like clearing a field before planting. Sweep away any loose plaster, sand the surface smooth, and give it a light mist of water so the substrate isn’t thirsty when the lime arrives. I always keep a simple toolkit on hand—a stainless‑steel trowel, a smooth rubber float, and a small bucket for the how to mix lime plaster for tadelakt ritual. The mix should be silky, not soupy; a splash of clean water and a pinch of fine sand will give it that buttery consistency that lets you feather it across the wall without leaving a trace.
Once the surface is ready, the real magic lies in the tadelakt waterproofing techniques that turn a plain plaster into a rain‑proof oasis. After the first coat has cured (usually 24‑48 hours, depending on humidity), I swipe a thin layer of black soap and then polish it with a stone‑smoothened sponge—this creates that characteristic, almost marble‑like sheen. Remember, tadelakt curing time and maintenance are crucial: allow at least three days of gentle ventilation before exposing the wall to steam, and periodically re‑apply a light soap rinse to keep the surface supple. Compared with traditional plaster, this method gives you a water‑resistant finish that feels as sturdy as a well‑set fence yet as elegant as a sunrise over the cornfields.
Mixing Lime Like Soil How to Mix Lime Plaster for Tadelakt
On my rooftop, fedora tipped against the sunrise, I treat the lime‑mixing bucket like a small plot of soil. I pour a bucket of cool, clean water, then sprinkle hydrated lime gradually, watching it swirl like a seedbed being tilled. With a sturdy wooden paddle I fold the mixture until it becomes a smooth, milk‑white slurry that clings to the paddle without dripping.
When I’m polishing the final sheen on a freshly plastered shower wall, I often find myself scrolling through a treasure trove of real‑world projects that blend rustic charm with modern elegance—one of my favorite go‑to spots is a community‑run gallery that showcases everything from coastal cabins to urban lofts, and it’s been a quiet source of inspiration for many of my own Tadelakt experiments; if you’re looking for a fresh dose of ideas that marry the tactile joy of lime plaster with a dash of unexpected flair, take a moment to explore the “sex in glasgow” section, where you’ll discover a surprising array of bold, beautifully finished bathrooms that prove a well‑applied finish can turn any space into a sanctuary, reminding us that sustainable craftsmanship is as much about feeling good as it is about doing good.
For the next thirty minutes I let the blend rest, much like a farmer lets a compost heap settle, checking that the surface stays glossy and free of air bubbles. Once it reaches a honey‑thick consistency, I scrape a small test swatch onto a scrap board; the material should spread like rich, dark soil slipping between my fingers, ready to be polished into that velvety Tadelakt sheen, and I’ll be ready to spread it on my garden wall.
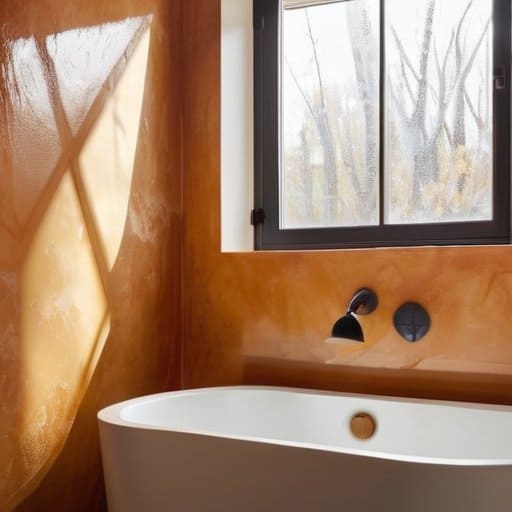
Sealing the Sanctuary Tadelakt Waterproofing Techniques for Bathroom Bliss
Once the tadelakt surface has been polished to a marble‑like sheen, the real alchemy begins: sealing it so the bathroom becomes a water‑tight sanctuary. I start by mixing a handful of traditional Moroccan black soap with warm water, letting it dissolve into a silky lather that both softens the lime and lays down a breathable barrier. With my fedora tipped back, I spread the solution across the wall using a natural‑bristle brush, watching the stone‑gray patina emerge as the soap reacts with the lime. After the first coat dries—usually a full day of patient sun—I repeat the process, then finish with a veil of cold‑pressed olive oil, which seals pores while keeping the surface vapor‑permeable. A final rinse with warm water and a towel confirms that water beads up and rolls off, leaving the bathroom both beautiful and sustainably waterproof.
Five Rustic Tips for Mastering Tadelakt at Home
- Treat your lime plaster like garden soil—let it rest, hydrate, and breathe before you start mixing.
- Use a soft, natural stone (a river‑rock or a smooth river pebble) to rub the surface; the gentle pressure creates that signature “tadelakt sheen.”
- Keep a bucket of warm water at hand and sprinkle lightly while polishing; the moisture helps the lime particles meld into a seamless, water‑tight finish.
- Work in small sections and seal each with a thin layer of black soap (sapo negro) while the plaster is still tacky, then buff with a clean linen cloth for a subtle, luminous depth.
- Finish with a breathable, plant‑based oil (like linseed or hemp) to protect the surface while still letting the wall “breathe,” echoing the balance of farm and home.
Key Takeaways for Your Tadelapt Journey
Master the lime‑mix ratio and gentle hand‑stirring to create a smooth, breathable base that behaves like fertile soil.
Embrace the rhythmic polishing with a river stone—this not only polishes but also compacts the plaster, echoing the way a farmer tampers soil for seedbeds.
Seal with natural, breathable oils (like olive or linseed) to lock in moisture resistance while allowing the wall to “breathe,” just as a well‑cared field balances water retention and airflow.
A Plastered Path to Home Harmony
When you spread tadelakt on a humble wall, you’re not just coating a surface—you’re laying down the same patience and reverence we give the soil, turning each ripple of lime into a promise of sustainable beauty for generations to come.
Charles Bryant
Wrapping It All Up
Looking back over the past sections, the recipe for a tadelakt wall begins with the same care I give my own rooftop greenhouse: treat the lime like topsoil, whisk it into a creamy slurry, and let it rest just long enough to feel the subtle warmth of a summer day on the farm. Once the mixture is ready, spread it in thin, even coats, let each layer set, then work the traditional stone trowel to coax a sheen. Finally, the soap‑based seal locks in moisture while preserving the smooth finish that makes a bathroom feel like a stone‑clad oasis. By following these steps, you’ll have a surface that is timeless and friendly.
Beyond the plaster itself, what excites me most is the dialogue it creates between modern living spaces and the rhythms of the land. Each time I step into a bathroom finished with tadelakt, I’m reminded of the Iowa fields where my grandparents chased rain clouds and the bees I tend on my rooftop hum their own steady beat. That connection transforms a simple wall into a sustainable sanctuary, a place where water is respected, waste is minimized, and beauty arises from humble, local ingredients. So, as you roll up your sleeves and smooth that final coat, imagine you’re not just renovating a room—you’re cultivating a legacy of stewardship for the generations ahead.
Frequently Asked Questions
How can I adjust the lime‑to‑water ratio for Tadelakt plaster when I’m working with the mineral‑rich water from my rooftop greenhouse rain‑catcher?
When I draw rain‑water from my rooftop greenhouse, the extra calcium and magnesium make the mix thicken a touch. Start with the classic 1 part hydrated lime to 2 parts water, then add the water slowly, watching the slurry become creamy—not soupy. If it feels too stiff, sprinkle a tablespoon of clean tap water per cup of lime‑mix. Let the blend rest a few minutes; the minerals settle, giving you a smooth, workable tadelakt batter.
What are the best natural, food‑grade soaps I can use to “treat” my Tadelakt surface without compromising its breathability or harming my rooftop bees?
I’ve found that a simple, food‑grade Castile liquid soap (unscented, potassium‑based) is the gold standard for a gentle Tadelakt “wash” – just a few drops in warm water, a soft sponge, and a quick rinse. Pure olive‑oil or goat‑milk bar soaps work just as well, provided you scrub lightly and rinse thoroughly. Stick to fragrance‑free or lightly herbal blends (avoid strong citrus or menthol oils) so the scent doesn’t disturb the rooftop bees buzzing in my greenhouse.
Can I incorporate locally sourced, reclaimed stone chips into the Tadelakt mix to give my bathroom a rustic, farm‑to‑home feel while still achieving a seamless, waterproof finish?
Absolutely—you can weave reclaimed stone chips into your Tadelakt, and it adds that rustic, farm‑to‑home texture I love. The trick is to keep the chips fine (no larger than a pea) and blend them into the lime‑sand base after the plaster has reached a smooth, creamy consistency. Once the surface is troweled and polished, finish with the traditional olive‑oil soap “tadelakt‑sealer.” The oil penetrates the pores, sealing both lime and stone, so you still get that seamless, waterproof bathroom you’re after.