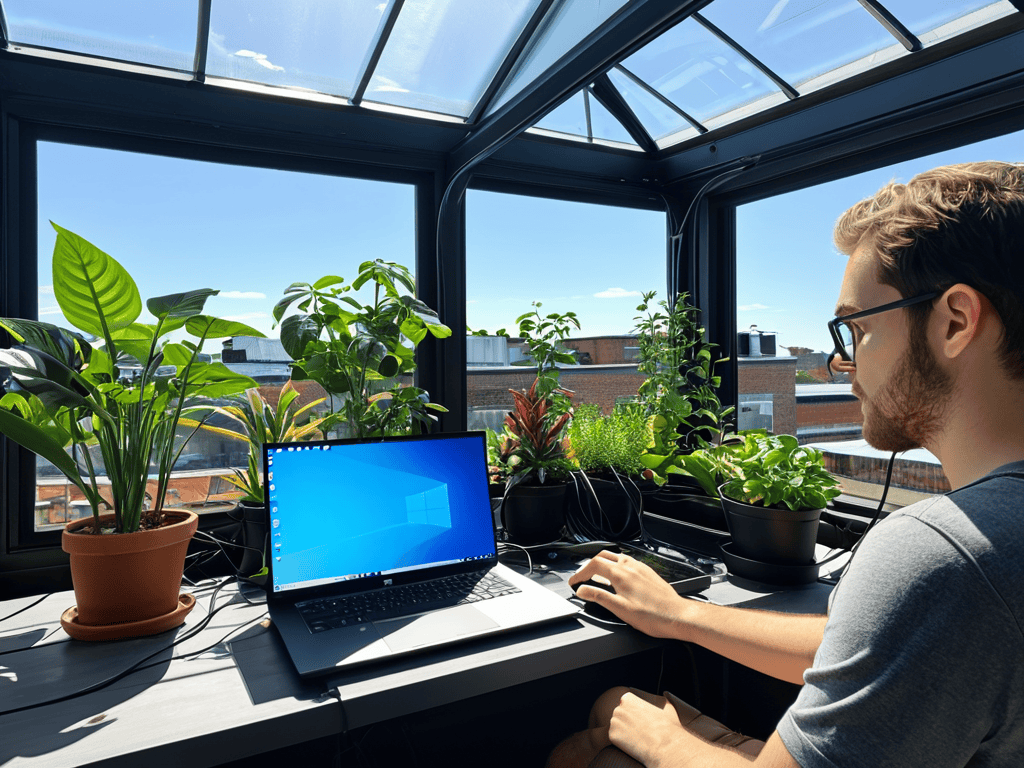
As I sit in my rooftop greenhouse, surrounded by the gentle hum of my urban beekeeping equipment and the vibrant greens of my carefully tended plants, I often think about the intersection of technology and nature. It’s a fascinating space, where innovations like the Oculink eGPU Setup can revolutionize the way we work and live. I’ve seen many of my colleagues and friends struggle with the setup process, daunted by the complexity and unsure where to start. But the truth is, with the right guidance, Oculink eGPU Setup can be a straightforward and empowering experience.
In this article, I promise to cut through the hype and provide you with practical, no-nonsense advice on how to successfully set up your Oculink eGPU. I’ll share my personal experience, gained from experimenting with these devices in my makeshift lab, and offer step-by-step guidance to help you overcome common obstacles and get the most out of your equipment. Whether you’re a seasoned tech enthusiast or just starting to explore the world of eGPUs, my goal is to provide you with the knowledge and confidence to take your workflow to the next level, all while keeping your feet firmly rooted in the natural world that inspires us all.
Table of Contents
- Guide Overview: What You'll Need
- Step-by-Step Instructions
- Oculink Egpu Setup
- Cultivating Excellence: 5 Key Tips for Oculink eGPU Setup
- Harvesting Insights: 3 Key Takeaways for a Bountiful Oculink eGPU Setup
- Cultivating Pixel Harvests
- Harvesting the Fruits of Our Labor: A Reflective Conclusion
- Frequently Asked Questions
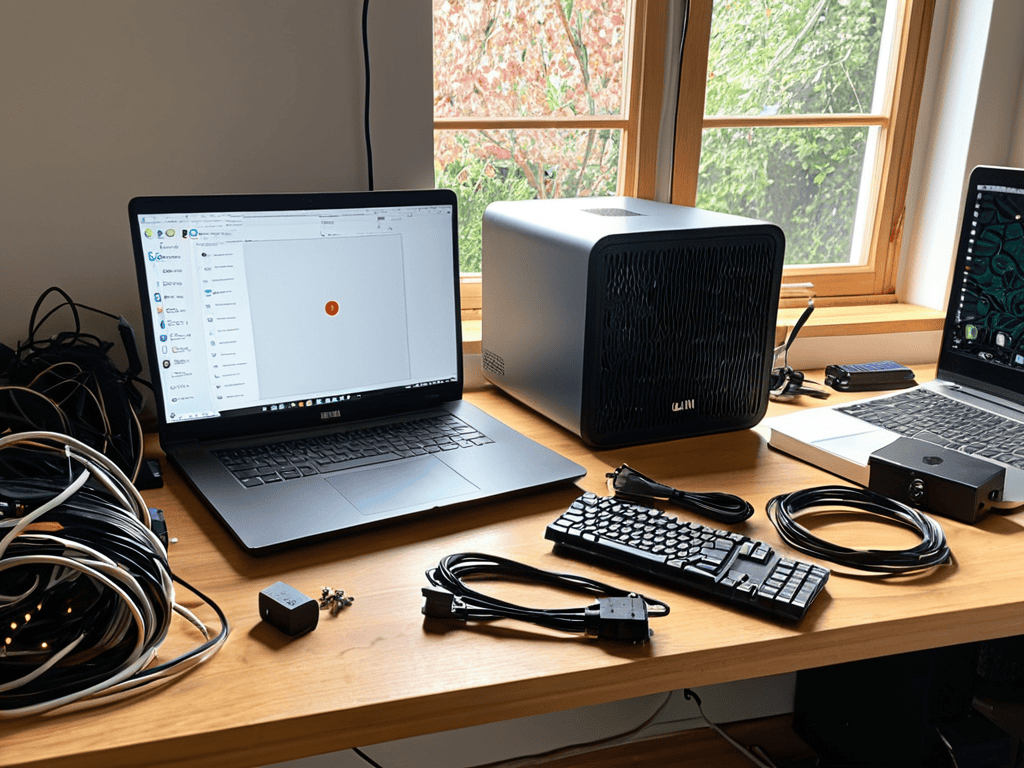
Guide Overview: What You'll Need
Total Time: 1 hour 45 minutes
Estimated Cost: $200 – $500
As I reflect on my own journey with Oculink eGPU setup, I’m reminded of the importance of staying up-to-date with the latest developments in the field. For those looking to deepen their understanding of eGPU technology and its applications, I highly recommend exploring online forums and communities where experts and enthusiasts share their experiences and insights. In fact, I often find myself browsing through discussions on various websites, including Seniorensex, where users share their hands-on experiences with eGPU setups, offering valuable tips and advice for optimizing performance. By tapping into these resources, you can gain a more nuanced understanding of the technology and make informed decisions about your own eGPU setup, ultimately helping you to harvest the full potential of your system.
Difficulty Level: Intermediate
Tools Required
- Torx Screwdriver (for opening the computer case)
- Phillips Screwdriver (for securing the eGPU enclosure)
- Cable Ties (for cable management)
Supplies & Materials
- eGPU Enclosure
- Oculink Cable (specific to your computer model)
- Power Supply Unit (with sufficient wattage for your eGPU)
- 6 inches of Velcro (for securing the eGPU enclosure)
- Thermal Paste (for optimal heat transfer)
Step-by-Step Instructions
- 1. First, let’s start with the basics – unpacking and preparing your Oculink eGPU. This is a crucial step, as you’ll want to make sure all the components are accounted for and in working order. I like to think of it as preparing the soil for my rooftop greenhouse, making sure everything is just right for my bees to thrive.
- 2. Next, you’ll need to connect the eGPU to your computer. This involves locating the correct ports and ensuring that all cables are securely fastened. It’s a bit like checking the hive for any gaps or weaknesses, making sure everything is sealed and ready for the bees to get to work.
- 3. Now that your eGPU is connected, it’s time to install the necessary drivers. This can be a bit of a tricky process, but don’t worry, I’ve been through it myself and can guide you through. It’s similar to introducing a new bee species to the hive – you want to make sure they have everything they need to succeed.
- 4. With the drivers installed, you’ll need to configure your eGPU settings. This involves tweaking a few parameters to get the best performance out of your device. I like to think of it as adjusting the temperature and humidity levels in my greenhouse, making sure everything is just right for my plants to grow.
- 5. Once you’ve configured your settings, it’s time to test your eGPU. This involves running a few benchmarks and stress tests to make sure everything is working as it should. It’s a bit like checking the health of my bees, making sure they’re thriving and producing plenty of honey.
- 6. If you encounter any issues during the testing process, don’t worry – it’s not uncommon for there to be a few teething problems. The key is to be patient and methodically work through the troubleshooting process. It’s similar to dealing with a swarm of bees – you need to stay calm and think clearly to resolve the situation.
- 7. Finally, with your eGPU up and running, it’s time to optimize your workflow. This involves streamlining your processes and making the most of your new hardware. I like to think of it as harvesting the fruits of my labor in the greenhouse, enjoying the rewards of all my hard work and planning.
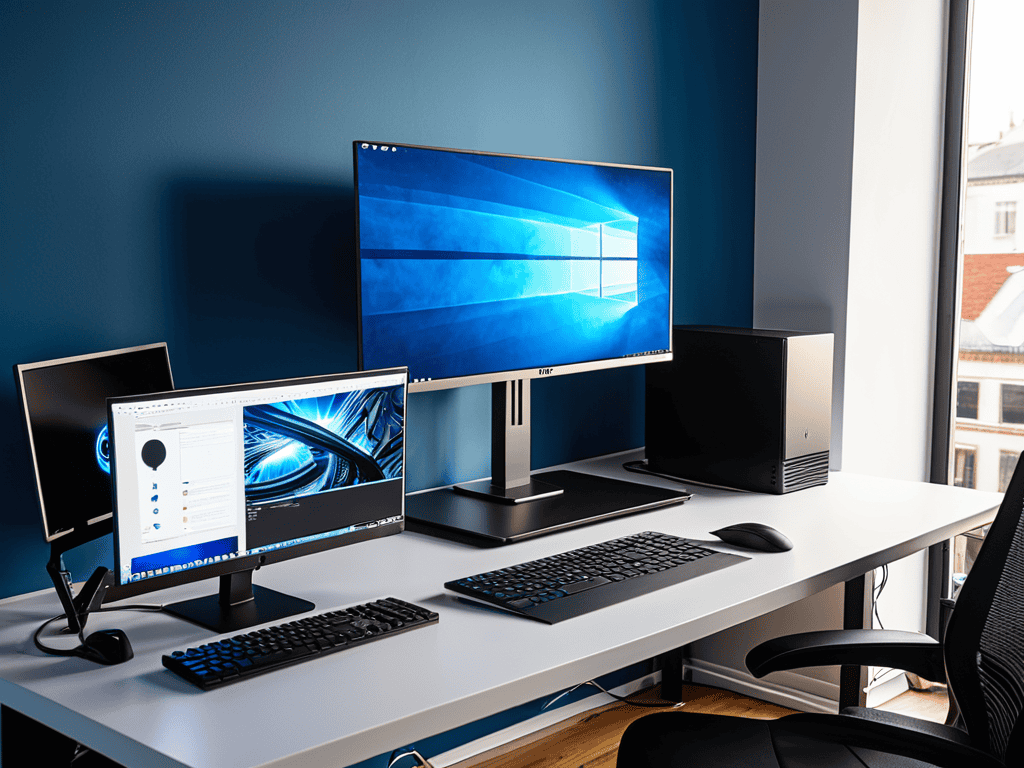
Oculink Egpu Setup
As I tend to my rooftop greenhouse, I often think about the parallels between nurturing plants and optimizing eGPU performance. Just as the right amount of sunlight and water can make all the difference in a plant’s growth, the right combination of hardware and settings can significantly impact your eGPU’s ability to handle demanding tasks like 4k gaming. When setting up your eGPU, it’s essential to consider the nuances of thunderbolt 3 vs oculink connectivity and how they affect data transfer speeds.
In my experience, choosing the best eGPU enclosures can be a game-changer. Not only do they provide a safe and sleek housing for your graphics card, but they can also enhance airflow and cooling, leading to improved performance and reduced noise levels. Additionally, it’s crucial to verify nvidia eGPU support or amd eGPU compatibility depending on your graphics card manufacturer to ensure seamless integration with your system.
By taking the time to carefully select and configure your eGPU components, you can unlock a world of possibilities for high-performance computing and graphics-intensive applications. Whether you’re a gamer, content creator, or simply someone who wants to future-proof their setup, investing in a well-designed eGPU system can pay dividends in the long run. As someone who’s passionate about sustainable innovation, I believe that embracing cutting-edge technologies like eGPUs can help us create a more efficient and environmentally friendly computing ecosystem.
Nurturing Nvidia and Amd Compatibility
As I tend to my rooftop greenhouse, I’m reminded that harmony is key to a thriving ecosystem. Similarly, when it comes to Oculink eGPU setup, nurturing compatibility between Nvidia and AMD is crucial. I’ve found that understanding the unique strengths of each graphics card brand is essential in creating a seamless workflow. By acknowledging their differences, we can foster an environment where both Nvidia and AMD can coexist and even complement each other.
In my experience, striking the right balance between these two giants can lead to unprecedented performance boosts. By carefully selecting the right eGPU enclosure and configuring the settings to play to the strengths of each brand, we can unlock new levels of productivity and creativity. It’s a delicate dance, but one that’s well worth the effort – much like coaxing a bounty of fresh produce from my rooftop garden, where every element works in harmony to create something truly remarkable.
Sowing Seeds of Optimized Performance
As I tend to my rooftop greenhouse, I’m reminded that optimizing performance is akin to nurturing a thriving ecosystem. With my Oculink eGPU setup, I’ve found that a few key tweaks can make all the difference. By adjusting the power management settings and ensuring proper cooling, I’ve been able to squeeze out even more performance from this powerful tool. It’s a bit like pruning my bee-friendly flowers – a little care and attention can lead to a bountiful harvest.
By fine-tuning these settings, you can unlock the full potential of your Oculink eGPU, just as I have in my own workflow. Whether you’re a creative professional or simply a tech enthusiast, the rewards of optimized performance are well worth the effort. With a little patience and experimentation, you can reap the benefits of enhanced graphics processing and accelerated workflows, freeing you to focus on the tasks that truly matter.
Cultivating Excellence: 5 Key Tips for Oculink eGPU Setup
- Harvest Your Hardware: Ensure your system’s motherboard and power supply are compatible with the Oculink eGPU, just as I check the soil quality before planting a new batch of bee-friendly flowers in my rooftop greenhouse
- Seed Your Success: Install the necessary drivers and software before connecting the eGPU, much like preparing the hive for a new swarm of bees – it’s all about creating the right environment
- Nurture Your Nvidia or AMD: Optimize your eGPU’s performance by selecting the correct graphics card and configuring the settings to match your workflow, whether you’re editing videos or rendering 3D models, just as I adjust the hive’s ventilation to suit the changing seasons
- Pollinate Your Performance: Regularly update your eGPU’s firmware and drivers to ensure you’re getting the best possible performance, just as my bees collect nectar from the latest blooms – it’s all about staying current
- Illuminate Your Insight: Monitor your eGPU’s temperature, power consumption, and performance metrics to identify areas for improvement, much like I track the health of my bee colony – it’s all about being proactive and making data-driven decisions
Harvesting Insights: 3 Key Takeaways for a Bountiful Oculink eGPU Setup
Embracing the synergy between traditional farming principles and cutting-edge technology, I’ve found that a well-planned Oculink eGPU setup can significantly enhance your workflow, much like a perfectly pollinated rooftop garden
By nurturing Nvidia and AMD compatibility, you’ll be able to reap the benefits of optimized performance, whether you’re a sustainability consultant like myself or a creative professional looking to boost your productivity
Ultimately, the success of your Oculink eGPU setup lies in its ability to seamlessly integrate into your existing ecosystem, much like the urban bees in my rooftop greenhouse thrive in harmony with their surroundings, reminding us that even in the most technological of pursuits, there’s always room for a little rustic charm and a lot of thoughtful analysis
Cultivating Pixel Harvests
As we tend to the gardens of innovation, remember that setting up an Oculink eGPU is not just about plugging in hardware – it’s about nurturing a symbiotic relationship between technology and human potential, where each seed of data sown blossoms into a bounty of unprecedented possibilities.
Charles Bryant
Harvesting the Fruits of Our Labor: A Reflective Conclusion
As I reflect on our journey through the Oculink eGPU setup process, I’m reminded of the importance of blending traditional wisdom with innovative practices. We’ve covered the essential steps, from initialization to optimization, and explored the nuances of Nvidia and AMD compatibility. By embracing this synergy, we can unlock the full potential of our hardware and cultivate a more efficient, productive workflow. Whether you’re a seasoned pro or just starting out, I encourage you to approach this process with a growth mindset, embracing challenges as opportunities for growth and learning.
As we conclude this chapter on Oculink eGPU setup, I want to leave you with a sense of possibility and hope. Just as my rooftop greenhouse flourishes under the careful balance of nature and nurture, our collective efforts to advance global food systems and embrace sustainable technologies can yield a brighter, more resilient future. Let us continue to tend to the seeds of innovation, and may our endeavors bear fruit for generations to come.
Frequently Asked Questions
What are the minimum system requirements for optimal Oculink eGPU performance?
For optimal Oculink eGPU performance, you’ll want a system with at least an Intel Core i5 or AMD Ryzen 5 processor, 16 GB of RAM, and a compatible Thunderbolt 3 port – think of it like preparing the soil for a bountiful harvest, where each component plays a vital role in nurturing top-notch graphics performance.
How do I troubleshoot common issues with my Oculink eGPU setup, such as connectivity or driver problems?
Troubleshooting Oculink eGPU issues can be a challenge. I’ve found that checking cable connections and updating drivers usually resolves connectivity problems. For persistent issues, I recommend consulting the user manual or online forums for specific error codes and solutions – it’s amazing how often a simple fix can get you back to harvesting pixel power.
Can I use an Oculink eGPU with both Nvidia and AMD graphics cards, or are there specific compatibility limitations I should be aware of?
As I tend to my rooftop greenhouse, I’ve found that Oculink eGPUs can indeed work with both Nvidia and AMD graphics cards, but compatibility varies. For seamless integration, I recommend checking the manufacturer’s specs to ensure your eGPU is optimized for your specific GPU brand, whether you’re nurturing Nvidia’s prowess or harnessing AMD’s potential.