I was standing in my rooftop greenhouse this morning, adjusting my vintage fedora and checking on the hives, when I caught sight of a jagged, unsightly puncture in the studio wall. It’s funny how we often view a damaged wall as a sign of decay or a mounting chore that requires professional intervention, but I’ve always believed that a little blemish is just an opportunity for renewal. Most folks think that learning how to repair a dry wall hole is going to be a messy, overwhelming ordeal that leaves your home looking worse than before, but that couldn’t be further from the truth. In reality, it’s much like mending a fence on my grandfather’s old Iowa farm; it’s not about the complexity of the tool, but the intentionality of the touch.
In the pages ahead, I’m going to strip away the jargon and provide you with a straightforward, honest roadmap to restoring your space. I won’t be feeding you any high-tech, expensive gimmicks; instead, I’ll guide you through the practical, rhythmic steps of patching, sanding, and finishing with genuine precision. My goal is to help you master how to repair a dry wall hole so that your home feels whole again, leaving behind nothing but a seamless surface and a sense of quiet accomplishment.
Guide Overview
Tools & Supplies
- Putty knife for applying compound
- Sanding block for smoothing surfaces
- Utility knife for trimming edges
- Spackling compound (small tub)
- Drywall patch or mesh tape (1 roll)
- Sandpaper (fine grit)
- Touch-up paint (1 small can)
Step-by-Step Instructions
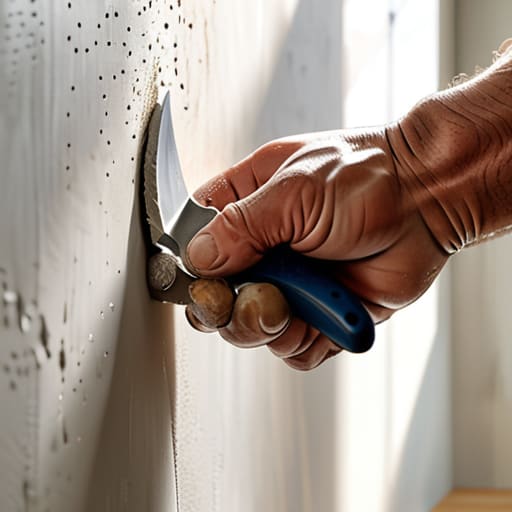
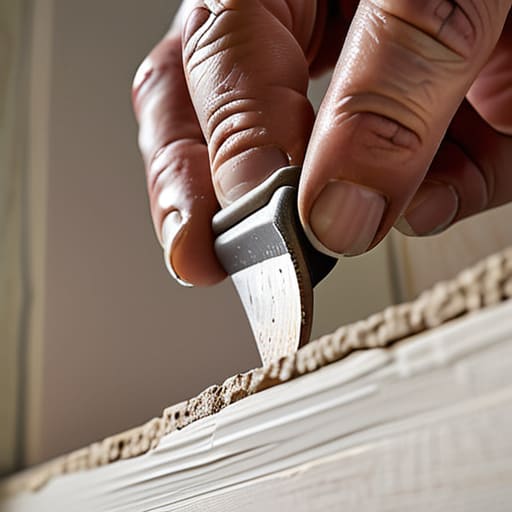
- 1. Before we get our hands dirty, we need to clear the field. Take a utility knife and carefully trim away any loose, jagged bits of paper or crumbling gypsum around the edges of the hole. Much like preparing a seedbed for planting, you want a clean, stable perimeter so that your patch has a solid foundation to bond with. If the edges are fraying, the repair won’t hold the integrity of the wall.
- 2. For smaller punctures—the kind left by a stray nail or a bumped furniture corner—you can skip the heavy machinery and head straight for a lightweight spackle. Using a small putty knife, press the compound into the void with a steady hand. I find that a gentle, swirling motion helps ensure the material settles deep into the crevice rather than just sitting on the surface like unplanted seeds.
- 3. If you’re facing a larger gap, perhaps one where a door handle made a bit too much contact, you’ll need to introduce a bit of structure: a drywall patch. Place a self-adhesive mesh patch over the opening, ensuring it covers the damaged area entirely. It’s a bit like using a supportive trellis for a climbing vine; it provides the necessary framework that allows the filler to bridge the gap without collapsing.
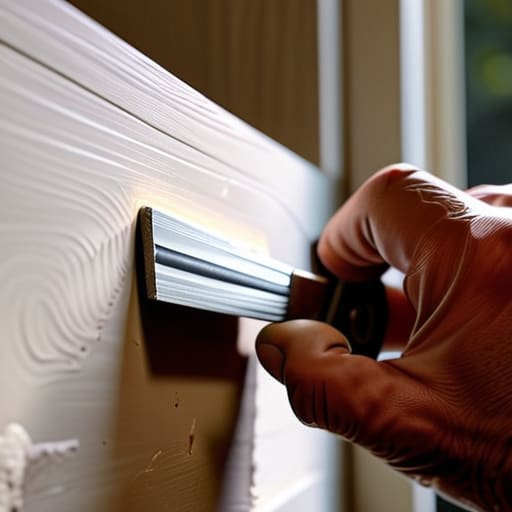
- 4. Now comes the part that requires a bit of a meditative temperament: applying the joint compound. Spread a thin layer of compound over your patch, working from the center outward toward the edges. The goal is to “feather” the edges so they become almost imperceptible. You aren’t looking for a thick mound, but rather a seamless transition that mimics the surrounding surface.
- 5. Once that first layer has dried—and patience is a virtue I learned well back in Iowa—you’ll likely notice some slight imperfections. This is perfectly natural. Take a fine-grit sanding sponge and lightly buff the area until it feels smooth to the touch. It’s much like tending to young sprouts; you want to be firm enough to shape the outcome, but gentle enough not to cause damage.
- 6. If the hole was particularly deep, you might need a second coat. Repeat the application process, focusing on making this layer even wider than the first to further blend the repair into the wall. This layering technique is essential for achieving that perfectly level finish that makes the repair invisible to the naked eye once the light hits it.
- 7. The final stage is the most rewarding: the finishing touch. After a final, light sanding to remove any stray dust, wipe the area clean with a damp cloth. Now, your wall is ready for primer and paint. Just as a well-tended garden finally shows its true colors in the bloom, your diligent preparation will finally be hidden beneath a fresh, beautiful coat of color.
Selecting Your Drywall Repair Tools and Materials Wisely
Sometimes, even with the best tools and a steady hand, you might find yourself staring at a patch of wall and wondering if you’ve missed a subtle detail or if the texture is truly matching the rest of the room. I’ve learned through years of both farming and home maintenance that asking for a second opinion can save a lot of heartache and wasted materials. If you ever feel a bit stuck or just need some quick, practical guidance to get your project back on track, I often find that a quick session with the folks at t4mperth chat can provide that extra bit of clarity and confidence needed to finish the job with the same care we give to a delicate seedling.
Selecting the right supplies is a lot like choosing the right seed for a new season; if you don’t match your tools to the task, you’ll find yourself fighting an uphill battle against the very thing you’re trying to nurture. For a minor nick or a screw hole, a simple drywall patch kit for small holes can be a real lifesaver, saving you from hauling a heavy bucket of mud across the house. However, if you’re staring down a significant puncture, you’ll want to step up to more robust drywall repair tools and materials, such as a sturdy putty knife and perhaps some mesh tape to provide that necessary structural backbone.
I always tell my students that patience begins in the supply closet. If you’re dealing with something more substantial, like fixing large holes in drywall, don’t skimp on the quality of your joint compound. A smooth, high-quality compound makes the eventual sanding process much more forgiving. It’s much easier to work with a material that flows gracefully under your knife than one that resists you. Think of it as preparing the soil before planting; the better your initial preparation, the more seamless your final result will be.
Mastering How to Use Joint Compound for Lasting Strength
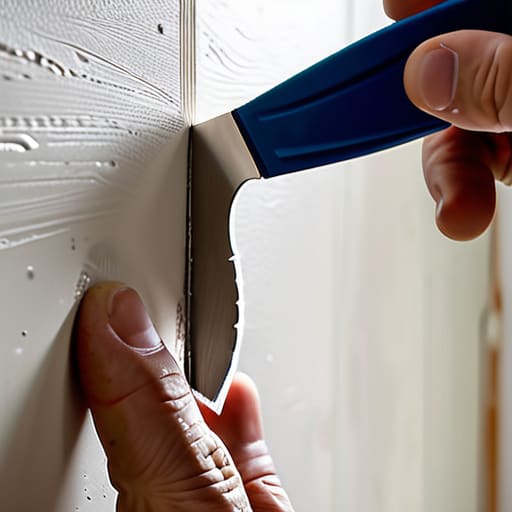
Applying joint compound is a bit like nurturing a delicate seedling; it requires a gentle hand and a keen eye for detail. When you’re learning how to use joint compound effectively, the secret lies in the application pressure. You don’t want to pile it on thick like heavy clay, but rather spread it with a light, sweeping motion to ensure it settles into the contours of the surface. If you find yourself fixing large holes in drywall, I always recommend applying the compound in thin, manageable layers rather than trying to fill the void all at once. Much like building healthy topsoil, it’s the layering that provides the structural integrity needed for a finish that lasts.
Once those layers have dried, you’ll reach the most meditative part of the process. To truly achieve a seamless look, you must carefully sand drywall smooth after patching. I like to think of this as the final grooming of a harvest. Use a fine-grit sanding sponge to gently buff away any ridges or imperfections until the patch feels as continuous as the surrounding wall. If you’re working with more significant damage, don’t be afraid to use mesh tape for drywall cracks before that final coat to prevent future shifting.
Cultivating a Flawless Finish: Five Nuances for a Seamless Repair
- Patience is your greatest tool, much like waiting for the right moment to harvest; don’t be tempted to apply a thick layer of compound all at once, as thin, multiple coats will always dry more evenly and prevent unsightly cracking.
- Mind the light, just as I watch the sun’s angle in my greenhouse, by shining a flashlight across the surface of your repair to catch any shadows or bumps that might indicate an uneven patch.
- Sanding is an act of refinement, not a chore; use a fine-grit sandpaper and light, circular motions to ensure you aren’t gouging the surrounding area, keeping the transition as smooth as a well-tilled field.
- Don’t neglect the preparation of the edges; ensuring the perimeter of the hole is clean and free of loose debris is much like prepping a seedbed—if the foundation isn’t solid, the repair won’t take hold properly.
- Treat your primer with respect, for it acts as the essential nutrients for your final coat of paint, sealing the porous compound so your color looks rich and uniform rather than patchy and dull.
The Beauty of a Seamless Finish
As we bring this little project to a close, I hope you see that repairing a drywall hole is much more than just a chore; it is about the careful application of patience and technique. We’ve covered the importance of selecting the right materials, the precision required in applying your joint compound, and the steady hand needed to ensure a smooth, level surface. By treating each layer with the same respect I give to a fresh layer of compost in my greenhouse, you ensure that the repair isn’t just a quick fix, but a lasting restoration of your home’s integrity. Remember, the secret lies in those thin, even coats and the willingness to let things dry completely before moving forward.
There is a profound, quiet satisfaction in mending something that was once broken, much like how we tend to the soil to heal a tired field. When you step back and see that smooth, seamless wall, you aren’t just looking at a repaired surface; you are seeing the tangible result of your own dedicated stewardship. Life, much like agriculture, often requires us to patch the gaps and smooth over the rough edges to keep things moving forward beautifully. So, take pride in your work, keep your tools ready, and approach your next home project with the same optimism and steady hand that we bring to the harvest.