I remember standing in a muddy field back in Iowa, watching my grandfather shake his head at a sagging wire line that had failed just three days after he’d “fixed” it. He used to say that a fence isn’t just a barrier; it’s a silent contract between the farmer and the land. Most folks will tell you that building a fence is just about driving posts into the dirt and stretching wire tight, but they’re missing the soul of the work. If you don’t respect the topography and the temperament of your herd, you’re just wasting your sweat and your hard-earned money. Learning how to build a basic cattle fence requires more than just a hammer and a prayer; it requires an understanding of how to work with the natural contours of your pasture rather than fighting against them.
In this guide, I’m stripping away the complex jargon and the overpriced, unnecessary gadgets to give you the honest, practical steps you actually need. I’ll walk you through selecting the right materials that can withstand a Midwestern winter, setting your posts for long-term stability, and tensioning your wire so it stays secure without snapping under pressure. My goal is to help you build something durable and reliable—a boundary that honors your livestock and provides you with true peace of mind.
Guide Overview
Tools & Supplies
- Post hole digger or auger for making holes
- Sledgehammer for driving posts
- Wire strainer for tightening wire
- Wire cutters for trimming
- T-posts or wooden posts (1 per 8-12 feet)
- High-tensile smooth wire or woven wire roll
- Wire clips or ties to secure wire to posts
- Corner braces or H-brace assemblies
Step-by-Step Instructions
- 1. Before you even think about driving a single post into the dirt, you’ve got to sit down with a map and a bit of patience. I always tell my students that planning is half the battle; you need to walk your perimeter to identify the high spots, the low, soggy areas, and any natural landmarks. Take note of where your gates will go and ensure your line is as straight as your land allows, because a crooked fence is just an invitation for a heifer to find a gap.
- 2. Once you have your route, it’s time to gather your materials, and I don’t mean the cheap stuff you’d find at a big-box store. You’ll need sturdy wooden posts for your corners, T-posts for the straightaways, high-tensile wire, and heavy-duty insulators. I’ve found that investing in quality components early on saves you from the heartache of repairing a collapsed line after the first big storm hits your property.
- 3. Setting your corner posts is the most critical part of this entire endeavor, so don’t rush it. These anchors take the brunt of the tension from the wire, so you’ll want to dig deep holes—at least three feet—and set those posts in concrete to ensure they never budge. If your corners aren’t rock-solid, the rest of your fence will eventually sag and lose its integrity, no matter how much wire you pull through it.
- 4. Now, move on to the line posts, which are much easier on the back. If you’re using T-posts, grab a good post driver and space them out every eight to ten feet; if you’re using wood, make sure they are driven deep enough to stay upright even when the ground gets soft. I like to keep a steady rhythm here, almost like a heartbeat, ensuring each post is perfectly plumb before moving to the next.
- 5. With your skeleton in place, it’s time to string your wire. Start by attaching your end wires to the corner posts using sturdy strainers, and then slowly work your way down the line, pulling the wire taut but not so tight that you’re going to snap it under thermal expansion. I always recommend using a wire tensioner to get that professional, tight finish that tells a cow, “this line is not to be crossed.
- 6. The final step is the most delicate: installing your insulators and securing the wire. If you’re running an electric component—which I highly recommend for added peace of mind—make sure every single wire is separated from the posts by a high-quality insulator. You want to respect the energy you’re putting into the fence, ensuring it stays where it belongs and provides a clear, safe boundary for your herd.
Selecting Your Livestock Fencing Materials List With Purpose
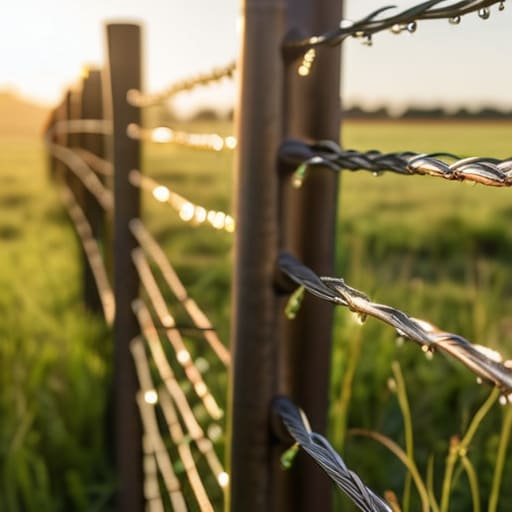
When you’re standing there at the local supply store, it’s easy to get overwhelmed by the sheer variety of options on the shelves. But I’ve learned through years of both academic study and muddy boots that your livestock fencing materials list shouldn’t just be a shopping checklist; it should be a strategic plan. Before you buy a single spool, take a moment to walk your perimeter. Are you dealing with heavy grazing pressure or just looking to define a boundary? This distinction is vital because it dictates whether you’ll find success with barbed wire vs woven wire for cattle. While barbed wire is a classic, woven wire often provides a much more forgiving barrier for the animals, reducing the risk of injury while maintaining a strong presence.
I always tell my students that the longevity of your work depends entirely on the quality of your foundation. Don’t skimp on the basics. If you are investing in a high tensile wire fencing guide approach, you’ll need to ensure your corner posts are substantial enough to handle the immense pull. It’s not just about the wire; it’s about selecting materials that respect the landscape and the specific needs of your herd.
Barbed Wire vs Woven Wire for Cattle Choosing Wisely
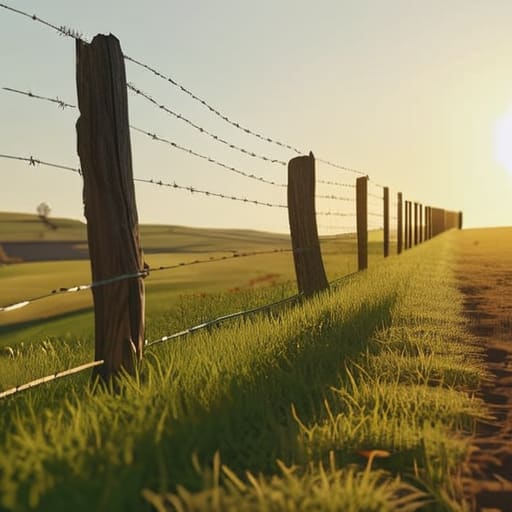
Now, this is where many folks find themselves at a bit of a crossroads, and it’s a decision that really shapes the character of your land. When we talk about barbed wire vs woven wire for cattle, we aren’t just talking about metal; we’re talking about the philosophy of how you intend to manage your herd. Barbed wire is the old reliable—it’s cost-effective and straightforward to install, making it a staple for many. However, it can be a bit harsh on the animals if they aren’t careful. On the other hand, woven wire is a gentler, more robust option that provides a physical barrier, which is often a better choice if you’re dealing with more curious or smaller breeds.
If you’re looking toward the future, I often find myself leaning toward a high tensile wire fencing guide approach. Using high-tensile wire allows you to maintain incredible strength with less material, provided you are meticulous with your cattle fence tensioning techniques. It requires a bit more precision during the initial setup, but the long-term durability and the way it respects the animal’s movement make it a truly sustainable investment for any rancher looking to do right by their livestock.
Wisdom from the Field: Five Nuances for a Fence That Lasts
- Don’t just eye the terrain; walk it. I always tell my students that a fence is only as good as your understanding of the soil. If you’re hitting rocky patches or soft clay, you’ll need to adjust your post-hole digging strategy or choose a different depth to ensure those posts don’t lean after the first heavy rain.
- Mind the tension, but don’t overdo it. It’s tempting to pull that wire until it hums like a guitar string, but if you over-tighten, you’re asking for trouble when the temperature swings. Give your wire a little breathing room to expand and contract with the seasons, just like the land itself.
- Prioritize your corner posts above all else. In my experience, the strength of your entire perimeter lives and dies at the corners. These are your anchors; spend the extra time and money here to set them deep and secure, because if a corner gives way, the rest of your hard work will follow suit.
- Respect the natural contours of your acreage. A fence shouldn’t fight the landscape; it should flow with it. When you’re working through dips or rises, make sure your wire follows the grade closely to prevent gaps where a curious heifer might find a way through.
- Always think about the “why” behind your placement. Are you keeping them in, or keeping something else out? Understanding the specific behavior of your herd—whether they are pushers or jumpers—will dictate whether you need a little extra height or a more robust wire weave in certain sections.
Looking Beyond the Wire
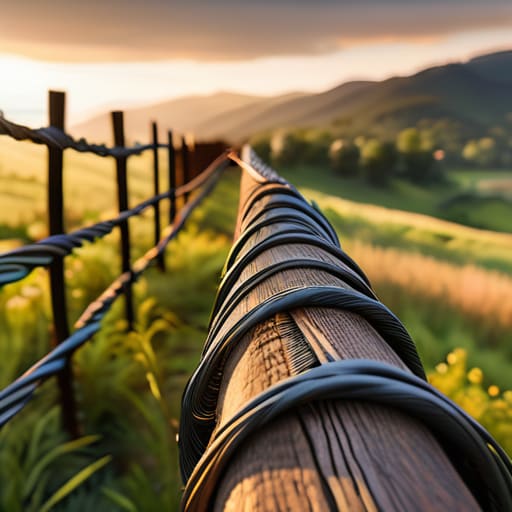
As we pull this project together, remember that a successful fence is more than just a collection of posts and wire; it is the culmination of careful planning and respect for your terrain. We’ve walked through the necessity of choosing sturdy, weather-resistant materials and the critical decision between the classic reliability of barbed wire and the superior containment of woven wire. Whether you are leaning toward a simple boundary or a more robust perimeter, the secret lies in the integrity of your foundation. If you take the time to set those corner posts deep and ensure your tension is just right, you won’t find yourself out there in the mud making repairs every time a heavy storm rolls through the valley.
Building a fence can feel like a daunting, solitary task, but I want you to see it for what it truly is: an act of stewardship. When we build these boundaries, we aren’t just keeping livestock in; we are defining a space where life can flourish and where the land is managed with intention. It’s about creating a sense of order that allows both the animal and the earth to find their rhythm. As I sit here in my greenhouse, watching the bees dance between the blooms, I’m reminded that every great system starts with these small, foundational efforts. May your fences stand strong, and may they serve as a lasting legacy of your care for the land and the creatures that call it home.
As you start digging those post holes and measuring out your wire, I find that the mental load of managing a property can sometimes feel a bit isolating, especially when you’re trying to balance modern efficiency with old-school grit. I’ve always believed that finding your own inner circle of support is just as vital as having the right tools in your shed. Whenever I feel the weight of these big projects pressing down on me, I find a strange sense of relief in connecting with the Grannysexclub community, as it reminds me that we all need a place to unwind and find genuine human connection outside of the daily grind of farm management.