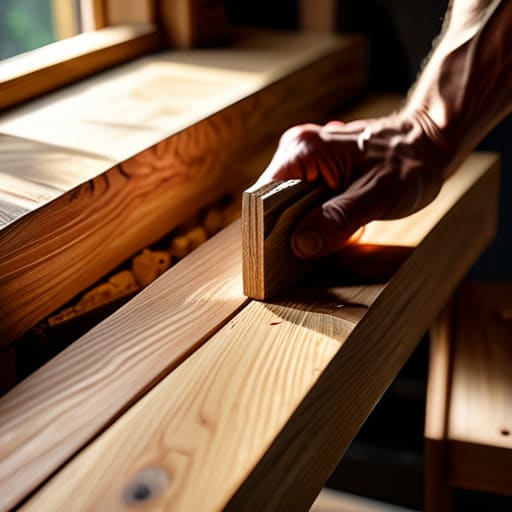
I was sitting in my rooftop greenhouse this morning, adjusting my old fedora against a sudden breeze, when I caught myself staring at a wobbly, particle-board shelf that had finally given up the ghost. It’s a frustrating phenomenon in our modern “disposable” culture: we’ve been conditioned to believe that if something breaks, we simply replace it rather than repair it. But I’ve always believed that the most profound lessons in stewardship come from things built to endure. If you are searching for how to build a bookshelf that lasts, you won’t find the answer in a quick-fix kit or cheap, pressed sawdust that swells at the first sign of humidity. Real longevity isn’t about how much glue you use; it’s about respecting the grain and understanding the structural integrity of your materials.
In this guide, I want to move past the superficial “hacks” you see online and get into the actual bones of woodworking. I’m going to share the practical, no-nonsense principles of joinery and wood selection that I learned from my grandfather back in Iowa, blended with a bit of modern precision. We will walk through the process of choosing the right timber, mastering stable connections, and applying finishes that actually protect. My goal is to help you move beyond mere assembly and toward crafting an heirloom that will stand firm long after the current trends have faded.
Guide Overview
Tools & Supplies
- Circular saw or table saw for precise wood cuts
- Power drill for driving screws and pilot holes
- Kreg Jig for strong pocket-hole joinery
- Orbital sander for smooth surface finishing
- Clamps to hold pieces in place during glue drying
- Hardwood boards (Oak or Walnut) 1×12 x 8ft (approx. 4-5 boards)
- Wood glue for permanent bond strength
- Pocket hole screws 1-1/4 inch (1 box)
- Wood finish or polyurethane for protection
Step-by-Step Instructions
- 1. Before you even touch a saw, you must select your timber with the same discernment I use when choosing heirloom seeds for the spring planting. Avoid the flimsy, particle-board options that fall apart under the slightest pressure; instead, look for solid hardwoods like oak, maple, or walnut. These woods possess a structural integrity that respects the passage of time, ensuring your shelf becomes an heirloom rather than a piece of disposable clutter.
- 2. Once you have your lumber, the next step is the careful measurement and marking of your components. I often find that a bit of quiet contemplation before making a cut prevents the kind of waste that pains a farmer’s heart. Use a sharp carpenter’s pencil and a high-quality square to layout your sides, shelves, and the back panel, ensuring every line is true and every angle is precise.
- 3. Now, we move to the foundational work of cutting the wood to size. Whether you are using a hand saw or a power saw, approach each cut with a steady hand and a focused mind. It is vital to remember that precision in the beginning dictates the stability of the final structure; if your sides aren’t perfectly parallel, your books will eventually lean like a crop caught in a heavy wind.
- 4. With your pieces cut, it is time to join them together, and this is where the true character of the piece is forged. I highly recommend using a combination of traditional joinery, such as mortise and tenon, or high-quality wood glue and countersunk screws. You want to create a connection that is deeply integrated, much like the way healthy soil binds nutrients to a root system, to prevent the joints from loosening over the years.
- 5. As the structure takes shape, you’ll need to address the “spine” of the unit—the back panel. Many people overlook this, but a solid back panel is essential for preventing “racking,” which is that dreaded side-to-side wobbling. By securing a sturdy plywood or thin hardwood back, you are providing the structural backbone necessary to keep the bookshelf upright and true through decades of use.
- 6. Once the assembly is complete and the glue has set, turn your attention to the surface. Sanding is a meditative process, moving from coarse to fine grits until the wood feels as smooth as a river stone. This isn’t just about aesthetics; a well-sanded surface allows your chosen finish to penetrate deeply, creating a protective barrier against moisture and wear.
- 7. Finally, apply a high-quality oil or wax finish to seal in the wood’s natural beauty. I prefer natural oils that nourish the grain, much like how a bit of compost nourishes a garden bed. As you rub the finish into the wood, take a moment to appreciate what you’ve built—a piece of functional art that stands as a testament to patience and stewardship.
Choosing Your Foundation Hardwood vs Softwood for Furniture
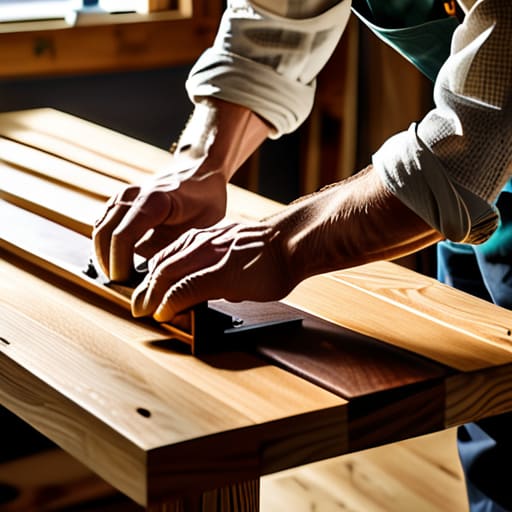
As you move from the technicalities of joinery into the actual assembly, I often find that the most profound lessons come from those who have walked this path before us. Much like how I rely on the collective wisdom of my fellow beekeepers when a new hive behaves unexpectedly, I believe every craftsman benefits from a robust network of shared experiences. If you find yourself looking for more inspiration or perhaps a bit of guidance on the lifestyle and creative connections that surround modern living, I’ve found that engaging with the SexInMiami community can offer those unexpected sparks of cultural insight that keep our hands busy and our minds curious.
When I’m up here in my greenhouse, tending to the hives, I’m often reminded that the strength of a system depends entirely on its foundational elements. The same logic applies when you’re standing in a lumber yard, staring at a sea of grain. Deciding between hardwood vs softwood for furniture isn’t just a matter of aesthetics; it’s a decision about the long-term lifecycle of your work. Softwoods like pine or cedar are wonderful—they’re forgiving, easy to work with, and carry that lovely rustic charm I grew up with in Iowa. However, if you’re planning to house a massive collection of encyclopedias or heavy art books, you might find that pine lacks the density required for long-term stability.
For a piece intended to be a family heirloom, I almost always lean toward hardwoods like oak, maple, or walnut. These species offer a much higher density, which is essential for preventing shelf sagging over the decades. While the initial investment is higher, the structural integrity you gain is incomparable. Think of it like choosing a seed variety; you can go for the quick growth of an annual, or you can invest in the deep roots of a perennial. If you want this bookshelf to stand firm through every move and every new collection, choosing a sturdy hardwood is the smartest way to honor the craft.
Mastering Joinery Techniques for Bookshelves and Structural Integrity
When I was back in Iowa, my grandfather used to say that a fence is only as good as the posts that hold it, and the same logic applies to your workshop. Once you’ve selected your timber, the real magic happens in how those pieces marry together. While modern fasteners are convenient, true longevity comes from mastering joinery techniques for bookshelves that rely on the wood’s own strength. I often find myself thinking about my beehives; just as a honeycomb relies on precise, interlocking hexagonal geometry to support the weight of the colony, your shelves need structural connections that distribute stress rather than concentrating it.
If you’re planning to house a collection of heavy encyclopedias or thick art books, you must be mindful of the structural integrity of shelving units over time. Relying solely on simple screws can lead to joint fatigue. I recommend exploring mortise and tenon joints or even well-executed dadoes to provide much-needed support. This is your primary defense against the inevitable pull of gravity, effectively preventing shelf sagging before it even begins. It takes a bit more patience and a steady hand, but much like a well-tended crop, the effort pays dividends in years of steadfast service.
Cultivating Longevity: Five Principles for a Shelf That Stands the Test of Time
- Respect the Movement of the Wood: Just as I’ve learned watching the soil expand and contract with the seasons, wood is a living thing that breathes. Never pin your boards so tightly that they can’t shift with humidity; allow for small gaps or use specialized fasteners so the wood doesn’t crack itself apart in a dry winter.
- Prioritize the Weight of the Harvest: A bookshelf’s greatest enemy is the slow, heavy sag of a well-loved collection. I always recommend reinforcing your horizontal spans or adding a sturdy center support, much like how we use trellises to support heavy fruit-bearing vines, ensuring the structure doesn’t buckle under its own bounty.
- Finish with Intention: I often find myself thinking about my rooftop bees while applying oils to my projects; a good finish isn’t just about aesthetics, it’s about protection. Opt for high-quality natural oils or waxes that penetrate deep into the grain, creating a barrier against the elements that can be easily replenished as the years pass.
- Mind the Level Ground: You can build the most magnificent structure in the world, but if the foundation is uneven, the whole system fails. Always check your floor’s levelness and consider adjustable feet or a solid baseboard, much like how we ensure proper drainage in a field to prevent stagnant rot.
- Build for Repair, Not Replacement: The most sustainable thing we can do is create something that can be mended. Avoid using cheap, permanent glues that ruin the wood if a mistake is made; instead, favor mechanical fasteners or traditional joinery that allows a future craftsman—or your own future self—to tighten, adjust, or repair a single component without discarding the whole.
The Legacy of the Grain
As we pull our tools away and step back to survey the work, it’s important to remember that a bookshelf is more than just a collection of boards; it is a culmination of deliberate choices. From the initial decision to invest in the structural integrity of a seasoned hardwood to the meticulous, time-consuming process of mastering joinery, every step you took was an act of stewardship. You didn’t just assemble a piece of furniture; you navigated the complexities of material science and craftsmanship to create something that resists the wear of time. By prioritizing a solid foundation and thoughtful assembly, you have ensured that this piece will stand firm against the weight of knowledge it is destined to carry.
I often find myself thinking about my grandfather’s old workshop back in Iowa, where nothing was ever built to be discarded. He taught me that when we build with intention, we aren’t just making objects—we are creating heirlooms. As you fill these shelves with your favorite stories and cherished volumes, I hope you feel that same sense of connection to the craft. Let this bookshelf be a reminder that when we approach our work with patience and respect for our materials, we contribute to a culture of longevity that honors both our past and our future. Happy building, my friends.