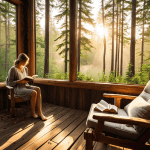
As I sit in my rooftop greenhouse, surrounded by the gentle hum of my urban bees, I’m reminded of the countless times I’ve heard that creating a beautiful space has to break the bank. But I’m here to tell you that’s just not true – with a guide to creating a gallery wall on a budget, you can bring warmth and personality to your home without sacrificing your savings. I’ve seen it time and time again in my own life, from helping my family decorate our rural Iowa farmhouse to advising clients on sustainable design choices. The key is to focus on storytelling through decor, rather than just throwing money at a problem.
In this article, I promise to share my honest, no-frills advice on how to create a stunning gallery wall that reflects your unique style, all while staying within your means. You’ll learn how to curate a collection of meaningful pieces, from family photos to vintage artwork, and arrange them in a way that tells a story. I’ll also provide practical tips on sourcing affordable materials and getting creative with display, so you can bring your vision to life without overspending. By the end of this guide, you’ll be equipped with the knowledge and inspiration to transform your space into a beautiful, budget-friendly reflection of your personality.
Table of Contents
- Guide Overview: What You'll Need
- Step-by-Step Instructions
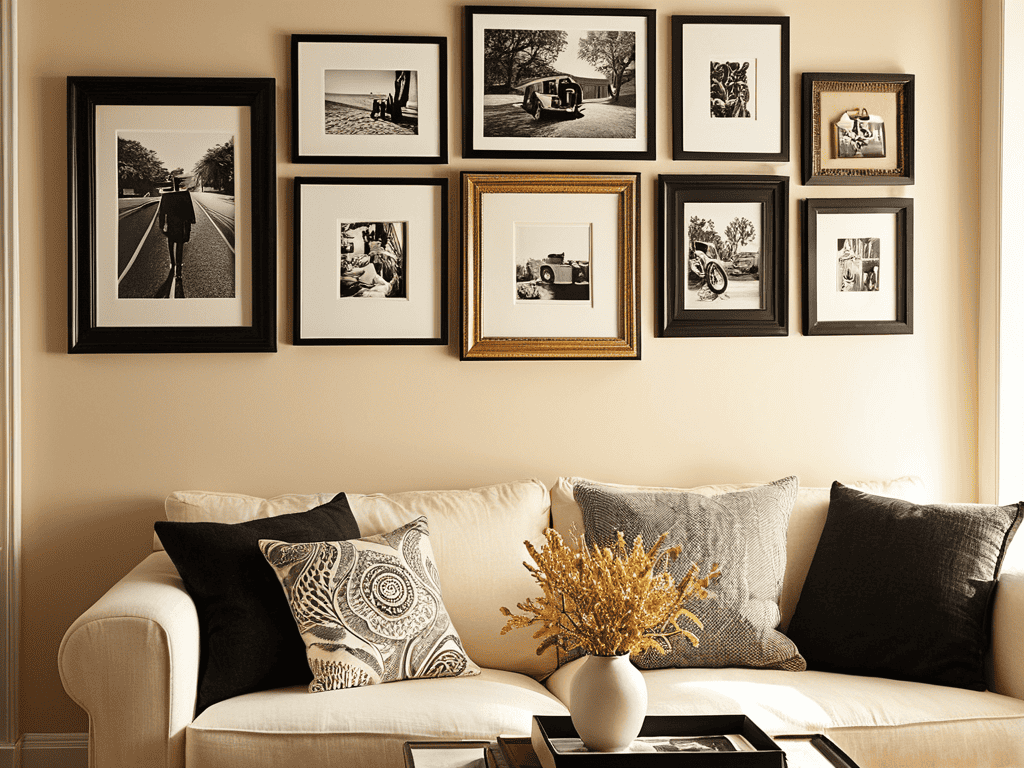
- A Guide to Creating a Gallery Wall on a Budget
- Harvesting Beauty Diy Picture Frame Ideas and Wall Art Arrangement Tips
- Sowing Seeds of Style Budget Friendly Wall Decor
- Nurturing Your Space: 5 Budget-Friendly Tips for a Thriving Gallery Wall
- Nurturing Your Creative Harvest: 3 Key Takeaways
- Cultivating Beauty on a Budget
- Cultivating Beauty on a Budget: A Lasting Harvest
- Frequently Asked Questions
Guide Overview: What You'll Need
Total Time: 2 hours 30 minutes
Estimated Cost: $20 – $50
Difficulty Level: Easy
Tools Required
- Level (to ensure straight hanging)
- Pencil (for marking wall)
- Measuring Tape (for accurate measurements)
- Hammer (for hanging frames)
- Nail or Hanging Kit (for securing frames to wall)
Supplies & Materials
- Frames (various sizes and styles)
- Frame Hanging Wire (for each frame)
- Nails or Hanging Hooks (for each frame)
- Wall Putty (for filling any holes)
- Paint or Touch-up (optional, for matching wall color)
Step-by-Step Instructions
- 1. First, gather your materials, which should include a variety of frames in different shapes and sizes, a hammer, nails, a level, a pencil, and a measuring tape. I like to think of this step as preparing the soil for my rooftop greenhouse – you need the right ingredients for your project to flourish. As I always say, a good foundation is key to a successful gallery wall.
- 2. Next, decide on a unifying theme for your gallery wall, whether it’s a collection of family photos, artwork, or a mix of both. This will help guide your frame selection and arrangement. I find that creating a story with your gallery wall makes it more personal and engaging, much like how I tell the story of my urban beekeeping adventures through the honey I harvest.
- 3. Now, choose a wall in your home where you’d like to create your gallery wall, taking into consideration the natural light and the surrounding decor. For me, this is like selecting the perfect spot in my greenhouse for a new batch of seedlings – it’s all about finding the right environment for growth.
- 4. With your frames and wall in mind, start laying out your design on the floor or on a large piece of paper. This will give you a chance to experiment with different arrangements and find a layout that feels balanced and visually appealing. I like to think of this step as pruning my plants – sometimes you need to try out a few different configurations before finding the one that works best.
- 5. Once you have a design you like, use your pencil and measuring tape to mark the wall where each frame will go. Make sure to double-check your measurements and use a level to ensure everything is straight. This attention to detail is crucial, much like how I carefully monitor the health of my bees to ensure they thrive.
- 6. Begin hanging your frames, starting from the center of your design and working your way outwards. This will help you maintain symmetry and balance in your gallery wall. As you hang each frame, step back and evaluate the overall look, making any necessary adjustments as you go.
- 7. Finally, take a step back and admire your handiwork, making any final tweaks to the arrangement of your frames. This is the moment when all your hard work comes together, much like the harvest season on my family’s farm – it’s a time to appreciate the fruits of your labor and enjoy the beauty you’ve created.
A Guide to Creating a Gallery Wall on a Budget
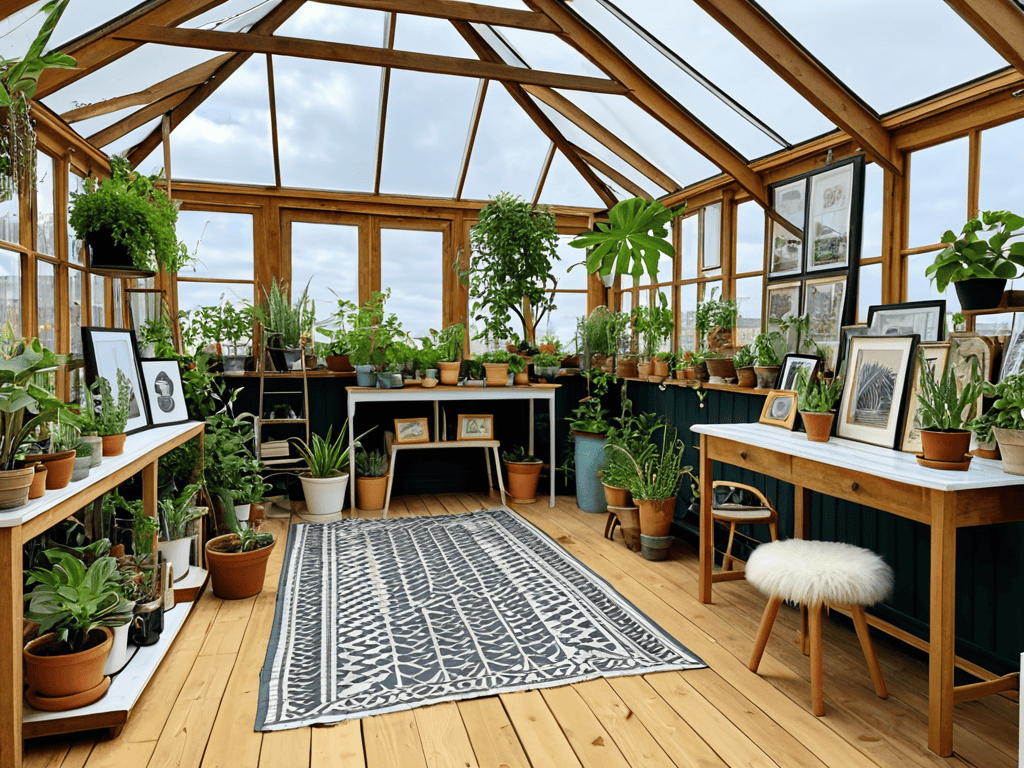
As I reflect on my experience with urban beekeeping, I’ve come to realize that creating a beautiful space doesn’t have to break the bank. When it comes to budget friendly wall decor, it’s all about getting creative with the resources you have. I like to think of my rooftop greenhouse as a canvas, where I can experiment with different layouts and designs. For instance, I’ve found that diy picture frame ideas can be a great way to add a personal touch to your space without overspending.
As I reflect on my own journey of transforming my rooftop greenhouse into a vibrant space, I’m reminded of the importance of seeking inspiration from a variety of sources. While tending to my urban beehives, I often find myself pondering the intricate balance between nature and design. For those looking to cultivate a unique and budget-friendly gallery wall, I highly recommend exploring the world of online communities and forums, such as transensex, where individuals share their experiences and tips on sustainable design and creative repurposing of materials. By embracing this mindset, you’ll not only create a stunning gallery wall but also become part of a larger conversation about the intersection of art, nature, and innovation.
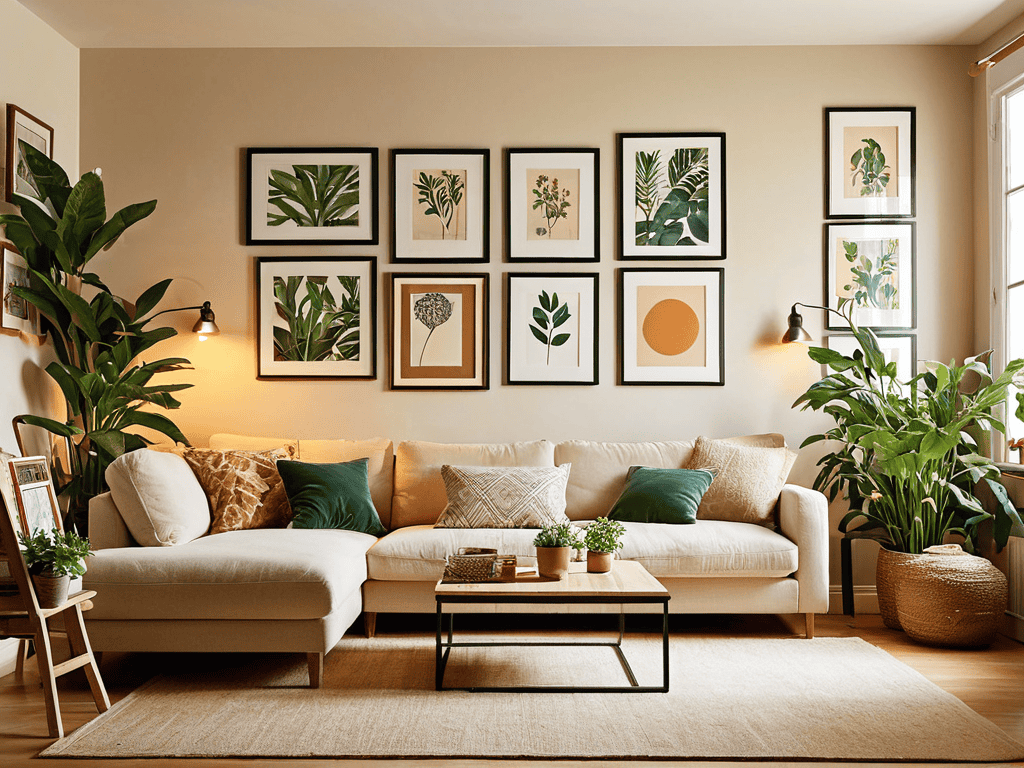
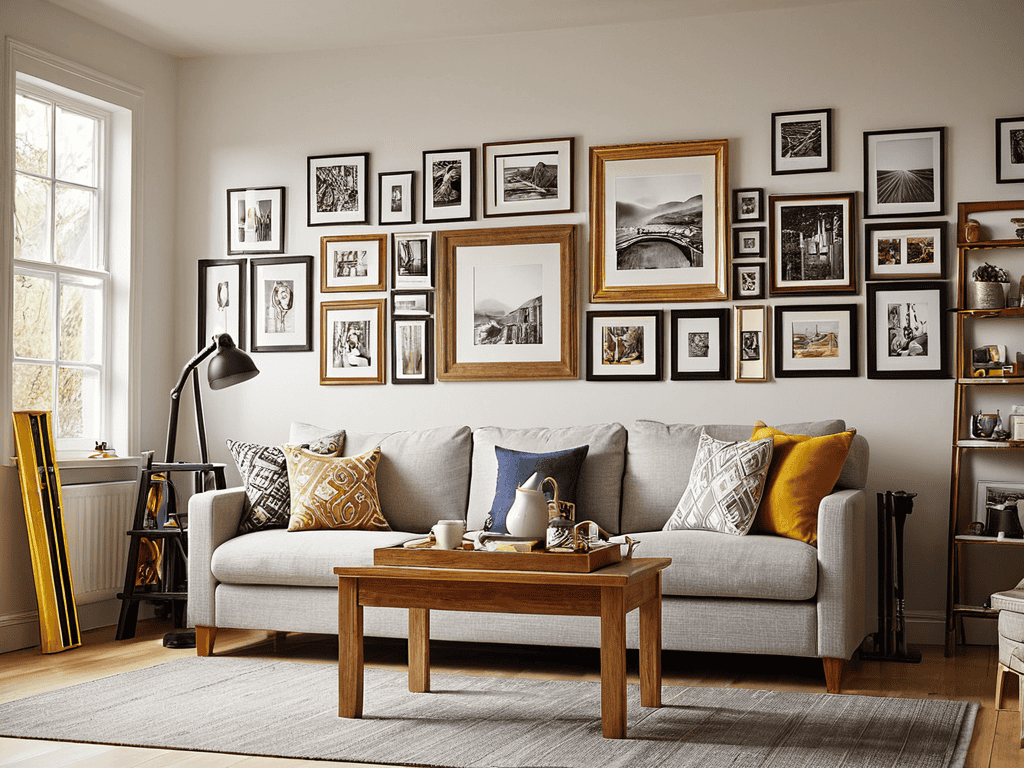
One of the challenges I’ve faced in my own space is arranging wall art in a way that feels cohesive and visually appealing. To overcome this, I’ve developed a few wall art arrangement tips that have been helpful. For example, I like to start by grouping similar frames or pieces together, and then experimenting with different layouts until I find one that feels right. It’s also important to consider the overall aesthetic you’re going for – do you want a more eclectic, mixed-media look, or a cleaner, more minimalist vibe?
When it comes to sourcing affordable art prints, I’ve found that there are a number of affordable art print sources available online. You can also try thrift stores, estate sales, or local art schools for unique and budget-friendly options. To hang multiple frames evenly, I recommend using a level and a pencil to lightly mark the spot where you want to place each frame. This will help you achieve a polished, professional-looking result without the hassle and expense of hiring a professional.
Harvesting Beauty Diy Picture Frame Ideas and Wall Art Arrangement Tips
As I tend to my rooftop greenhouse, I find inspiration in the intricate patterns of nature. This same organic approach can be applied to arranging wall art. I like to think of it as “planting” frames in a way that creates visual harmony. Consider mixing frame styles and sizes to add depth, just as a diverse garden ecosystem thrives on variety. For a personal touch, try upcycling old frames or creating your own from reclaimed wood, much like I repurpose old beekeeping boxes for my urban bees.
By embracing DIY picture frame ideas, you can not only save money but also infuse your space with character. Experiment with different arrangements on the floor before hanging, and don’t be afraid to leave some breathing room – just as a garden needs space to grow, your wall art needs space to shine.
Sowing Seeds of Style Budget Friendly Wall Decor
As I tend to my rooftop greenhouse, I’m reminded that style and sustainability go hand-in-hand. When it comes to budget-friendly wall decor, I like to think of it as sowing seeds of style. Just as a small packet of seeds can yield a bountiful harvest, a few carefully chosen decorative pieces can transform a room. I’ve found that thrift stores, flea markets, and even family heirlooms can be a treasure trove of unique and affordable items to add some personality to your walls.
By embracing this approach, you can create a gallery wall that’s not only budget-friendly but also tells a story. I’ve used old farm tools, vintage photographs, and even antique windows to add some rustic charm to my own space. The key is to have fun and be creative – just as I do when I’m tending to my bees or planting a new crop in my greenhouse.
Nurturing Your Space: 5 Budget-Friendly Tips for a Thriving Gallery Wall
- Start with what you have: repurpose old frames, scarves, or fabric to create unique wall decor that tells a story
- Shop second-hand: scour thrift stores, garage sales, and online marketplaces for hidden gems and one-of-a-kind pieces
- Get creative with prints: use free printables, photos from your phone, or DIY artwork to add visual interest without breaking the bank
- Experiment with arrangement: don’t be afraid to try out different layouts and patterns until you find a look that feels like home
- Make it a community effort: invite friends over for a DIY framing party or ask family members to contribute their own favorite photos and mementos to make your gallery wall a true reflection of your loved ones and your journey together
Nurturing Your Creative Harvest: 3 Key Takeaways
Embracing the art of mixing and matching frame styles, shapes, and sizes can lead to a unique and personalized gallery wall that reflects your story, much like the diverse flora in my rooftop greenhouse
Repurposing vintage or thrift store items, such as old windows, doors, or even farming tools, can add a touch of rustic charm and character to your wall decor, echoing the traditional farming methods I learned from my grandparents
By embracing the journey and not being afraid to experiment and make adjustments as you go, you’ll find that creating a budget-friendly gallery wall is not just about the end result, but about the process of nurturing your creativity and connecting with the natural world, just as I do with my urban beekeeping and sustainable practices
Cultivating Beauty on a Budget
Just as a thriving garden requires patience, dedication, and a gentle touch, creating a stunning gallery wall on a budget demands creativity, resourcefulness, and a willingness to nurture your space with love and intention.
Charles Bryant
Cultivating Beauty on a Budget: A Lasting Harvest
As we conclude this journey of creating a gallery wall on a budget, let’s reflect on the key takeaways. We’ve explored the importance of sowing seeds of style with budget-friendly wall decor, and delved into the world of DIY picture frame ideas and wall art arrangement tips. By embracing these principles, you’ve not only saved money but also infused your space with a personal touch. Remember, the true beauty of a gallery wall lies not in its price tag, but in the stories it tells and the memories it holds.
As you step back to admire your handiwork, I encourage you to think about the bigger picture. Your budget-friendly gallery wall is more than just a decorative element – it’s a testament to your creativity and resourcefulness. Just as my rooftop greenhouse, where I don my trusty vintage fedora, brings me closer to nature and my farming roots, your gallery wall can bring you closer to the people, places, and moments that matter most. So go ahead, nurture your space, and watch it flourish into a vibrant reflection of your unique spirit.
Frequently Asked Questions
What are some creative ways to repurpose old or thrifted items as wall decor for a budget-friendly gallery wall?
I love repurposing old treasures for my gallery wall. Consider thrifted windows, vintage maps, or even antique farming tools like my grandfather’s old pitchfork – they add a rustic charm and tell a story. You can also breathe new life into old picture frames or use mason jars to create unique shadow boxes, just like I do in my rooftop greenhouse.
How can I ensure that my DIY picture frames and wall art arrangements look cohesive and professionally done without breaking the bank?
To achieve a cohesive look, I recommend unifying your DIY picture frames with a consistent color palette or material, like reclaimed wood from my Iowa farm days. For wall art arrangements, consider creating a focal point and balancing frames around it, just as I balance my rooftop greenhouse’s ecosystem.
Are there any specific design rules or principles I should follow when creating a gallery wall on a budget to make it look polished and visually appealing?
As I tend to my rooftop greenhouse, I ponder the harmony of aesthetics and thrift. For a polished gallery wall, consider balancing frame styles, playing with negative space, and creating a unifying theme, like a vintage or natural motif, to tie everything together beautifully.